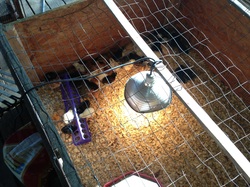
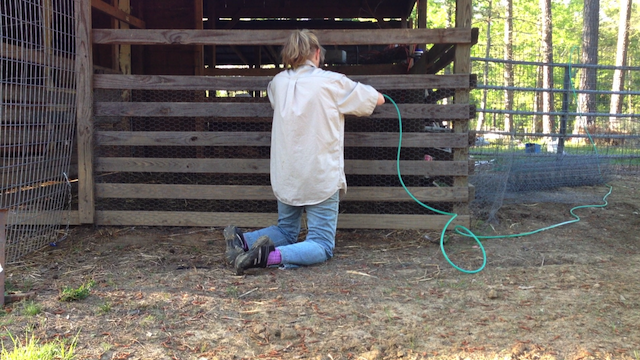
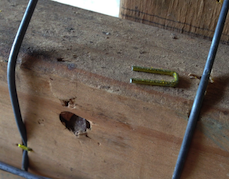
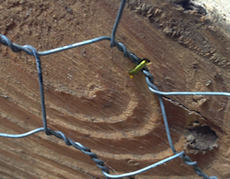
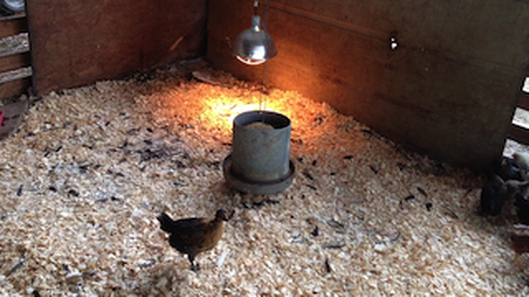
 The brooder box we built several years ago (instructions here) is terrific for babies when they are small, holding well over a hundred for several weeks. But when the young'uns begin to feather out, it's time to move them out and into a more spacious environment. In the past, we have used the goat stall pictured at the top of this page for a sort of "finishing" area for the little chicks and turkeys, but in wrapping it with protective wire we typically did so in a more temporary manner. Once the chickens were allowed to range freely and the goats gained access to the stall once again, the protective wire didn't last long at all. So we decided to do it differently this time, attaching the wire on the outside of all but one of the four walls, away from the goats who will, once again, eventually have access to the stall. My daddy always told me that having the proper tools was the first step toward doing a good job, and boy was he right. Using a stapler powered by an air compressor made quick work of covering the stall with chicken wire down low and 2X4 welded wire above that, and the 1/2" long staples ensure that the wire is there to stay. By the way, we put chicken wire around the bottom for two reasons: 1) the chicks could possibly still squeeze through 2X4 openings if they were really determined, and 2) chicken wire will make it a little more difficult for predators to climb. At least we hope it will. 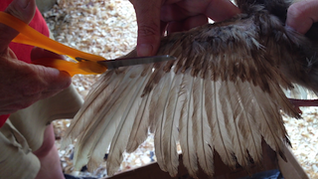 darker feathers served as a cutting guide We made sure to trim one of each chicken's and turkey's wings to keep them grounded. If you trim both, they can still fly. Although the stall is mostly enclosed, there are some openings high on the walls, and we don't want the little rascals getting any ideas. Better safe than sorry, you know? By the end of the afternoon, the new tenants had moved in. They weren't thrilled at first, which is always the case after moving young birds from the comfort of their cozy brooder. But it won't be long until they are ruling the roost in their new quarters. Below is the accompanying video of the process: And here is the YouTube link for those who can't view the embedded video: http://youtu.be/M9YBSZxxABY ~ Tommy A. Of all our YouTube videos, the one with the most views (twice as many as the next closest) demonstrates a simple method of tightening 2X4 welded wire fencing. In fact, the last time I searched YouTube for "how to tighten fence," this video was in the number one spot in the non-sponsored search results. Here it is, for your viewing pleasure: My encouragement to you here, if you are a blogger, is this: don't assume your tip is too simple to share! There are plenty of folks out there who can benefit from your knowledge, and who are hungry for it, however simple it may seem to you. And remember this: there was a time when you didn't know how to do what you now know how to do! Aren't you glad someone shared their knowledge with you? ;-) So, what "simple" tip can you share with the world? Someone out there needs to know...they're just waiting for you to show them! ~ Tommy |
Archives
June 2020
Categories
All
|


 RSS Feed