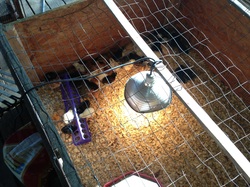
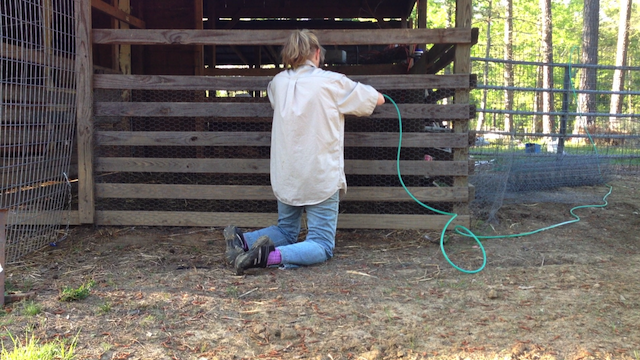
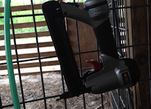
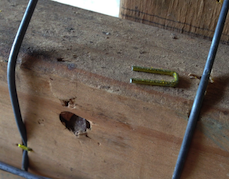
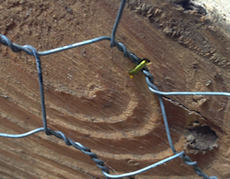
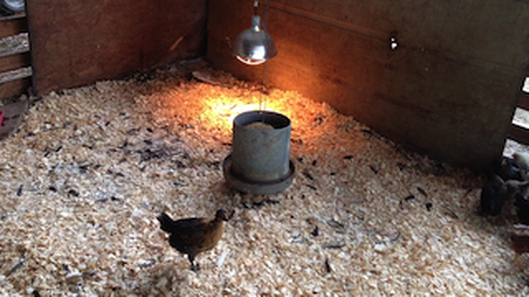
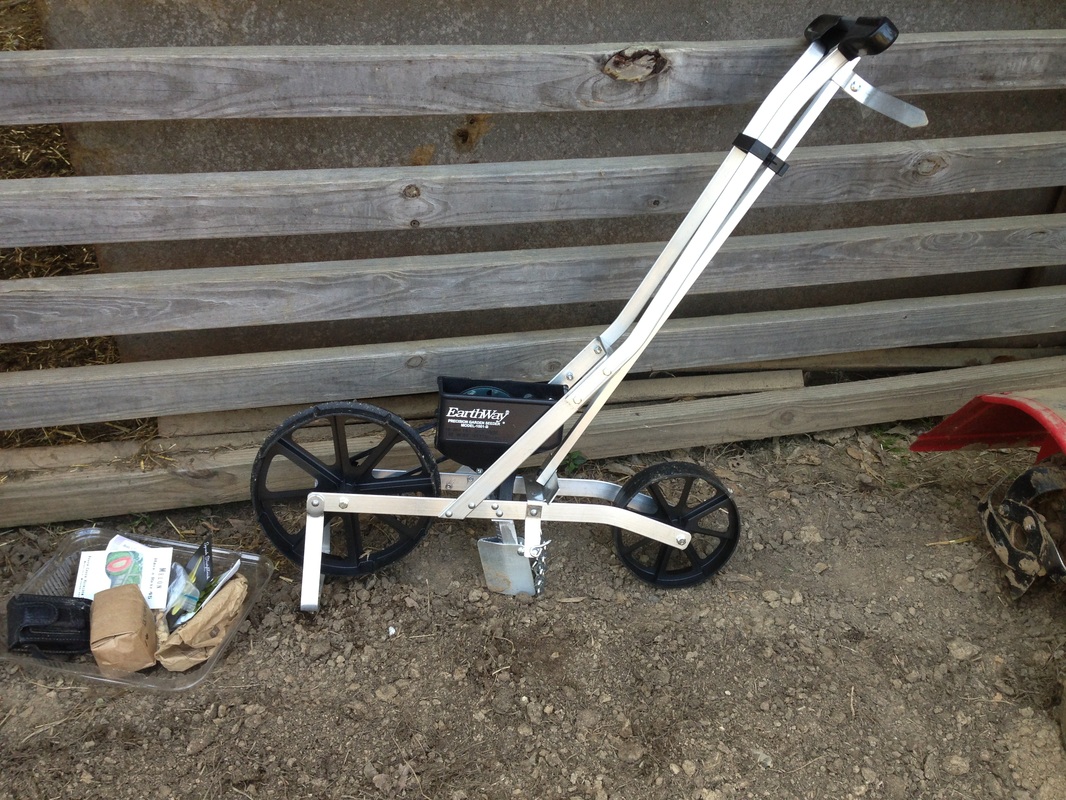
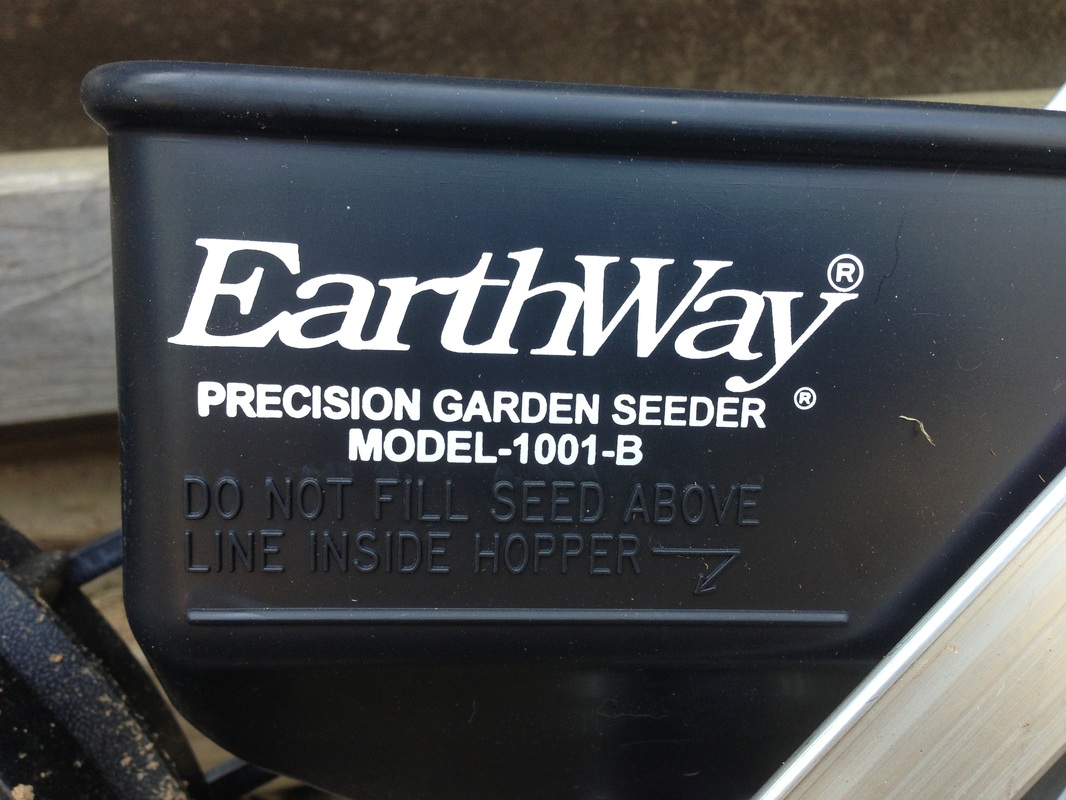
 The brooder box we built several years ago (instructions here) is terrific for babies when they are small, holding well over a hundred for several weeks. But when the young'uns begin to feather out, it's time to move them out and into a more spacious environment. In the past, we have used the goat stall pictured at the top of this page for a sort of "finishing" area for the little chicks and turkeys, but in wrapping it with protective wire we typically did so in a more temporary manner. Once the chickens were allowed to range freely and the goats gained access to the stall once again, the protective wire didn't last long at all. So we decided to do it differently this time, attaching the wire on the outside of all but one of the four walls, away from the goats who will, once again, eventually have access to the stall. My daddy always told me that having the proper tools was the first step toward doing a good job, and boy was he right. Using a stapler powered by an air compressor made quick work of covering the stall with chicken wire down low and 2X4 welded wire above that, and the 1/2" long staples ensure that the wire is there to stay. By the way, we put chicken wire around the bottom for two reasons: 1) the chicks could possibly still squeeze through 2X4 openings if they were really determined, and 2) chicken wire will make it a little more difficult for predators to climb. At least we hope it will. 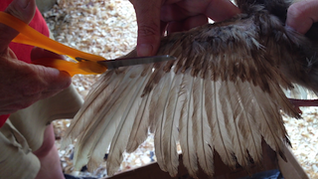 darker feathers served as a cutting guide We made sure to trim one of each chicken's and turkey's wings to keep them grounded. If you trim both, they can still fly. Although the stall is mostly enclosed, there are some openings high on the walls, and we don't want the little rascals getting any ideas. Better safe than sorry, you know? By the end of the afternoon, the new tenants had moved in. They weren't thrilled at first, which is always the case after moving young birds from the comfort of their cozy brooder. But it won't be long until they are ruling the roost in their new quarters. Below is the accompanying video of the process: And here is the YouTube link for those who can't view the embedded video: http://youtu.be/M9YBSZxxABY ~ Tommy A. The following is an unpaid, unsolicited product endorsement. Patti has been threatening to buy a seeder for some time now. She's been shopping online, comparing prices, looking for the best deal. Hey, we're all about being thrifty and frugal. A while ago she settled on Earthway's Model # 1001-B Precision Garden Seeder, and today she discovered she could buy one locally. At $109.00, it was a little higher than the prices she'd found on line so far, but the convenience of being able to get it today, plus no shipping costs, and it made sense to grab it. 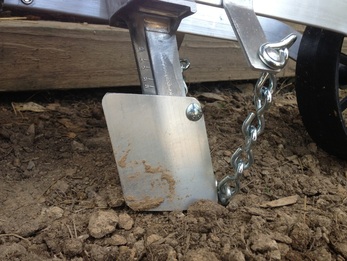 I have to tell you, when we first examined the contraption, we didn't have very high hopes that it would work as advertised. I mean, the little chain dragging behind the thing was supposed to cover the seed? Really? Well, yes. Really. It worked like a charm, and saved us a tremendous amount of time as soon as we put it together (which was a snap and didn't take long at all) The blade-looking thing in the photo above is a small plow. Behind the plow is a groove through which the seeds are dropped from the hopper to the ground. 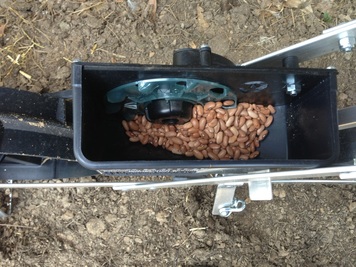 Inside the hopper, from which the seeds are deposited downward, there are interchangeable wheels designed to fit a wide variety of seeds. The seeds shown are snap beans. The wheel, or plate, works in a fashion similar to old-fashioned water wheels that would power grist mills: as the wheel makes a revolution, the little "cups" on the wheel pick up the beans one at a time for delivery down the shoot that runs behind the plow shaft toward the ground. That delivery system seemed very efficient to us, and Patti noted that she used fewer beans than she expected to use, although each row was fully planted. It must've been due to the controlled release of the beans, resulting in no wasted beans accidentally cast aside hither and yon. Four times the results / one fourth the effort We timed how long it took us to plant four rows of snap beans, and it took right at six minutes to plant four rows. In fact, it only took three minutes to plant the first three rows, but we hadn't loaded the hopper with enough beans for the last row, so the additional three minutes it took for the last row included walking to and from where the bag of seeds were located, and loading the hopper. We didn't intend on conducting a comparison by planting a row without the seeder, but we ended up doing so because there wasn't a plate/wheel with cups big enough for the butter beans! We were sorely disappointed by that fact, but were later relieved to learn that additional wheels can be purchased which will fit virtually any size seed. Anyway, since we didn't have the right wheel for the butter beans, and the butter beans needed to be planted, we took the opportunity to see how long it took for one person to open a furrow, plant the seeds, and cover the seeds in one row. Answer: six minutes. Yep, it took the same time to do one row by hand that it took to do four rows using the seeder. Amazing. In the final analysis, though we certainly need a few more wheels to fit a few more seed sizes (it came with several, just not the right one for our butter beans), we couldn't be happier with how the seeder performed. It's not every day you can find a device to cut your effort by such a huge percentage. Below is our video product review: And here is the link to the video in case there's an issue with the embed: http://youtu.be/TZZ0XXEM4To Of all our YouTube videos, the one with the most views (twice as many as the next closest) demonstrates a simple method of tightening 2X4 welded wire fencing. In fact, the last time I searched YouTube for "how to tighten fence," this video was in the number one spot in the non-sponsored search results. Here it is, for your viewing pleasure: My encouragement to you here, if you are a blogger, is this: don't assume your tip is too simple to share! There are plenty of folks out there who can benefit from your knowledge, and who are hungry for it, however simple it may seem to you. And remember this: there was a time when you didn't know how to do what you now know how to do! Aren't you glad someone shared their knowledge with you? ;-) So, what "simple" tip can you share with the world? Someone out there needs to know...they're just waiting for you to show them! ~ Tommy |
Archives
June 2020
Categories
All
|



 RSS Feed